Tar and Chip Surfacing Explained: What It Is, How It Works, and Whether It’s Right for Your Project
Tar and chip has been surfacing roads, driveways, and access tracks across Britain for well over a century. It predates tarmac as a modern commercial product, in a way – the basic principle of binding aggregate to a road surface with bitumen is about as old as road building gets. And yet it remains, in some quarters, a bit of an unknown quantity. People know what tarmac looks like. Gravel they understand. Tar and chip sits somewhere in between, and there’s a reasonable amount of confusion about what it actually is, how long it lasts, and whether it’s the right choice for a given project.
Worth clearing that up properly.
What Tar and Chip Actually Is
The process is simpler than most people assume. A layer of hot bitumen binder – the “tar” part, though modern binders are bitumen-based rather than coal tar, which hasn’t been standard practice for decades – is spread onto a prepared base. While the bitumen is still hot and tacky, aggregate chippings are spread over the surface and rolled in, embedding them into the binder. The result, once cooled, is a hard-wearing surface where the aggregate forms the wearing course and the bitumen holds it in place.
It’s also called surface dressing, chip and tar, or macadam chip seal depending on who you’re talking to and which part of the country you’re in. Same basic process, different names. Don’t let the terminology variation catch you out if you’re comparing quotes.
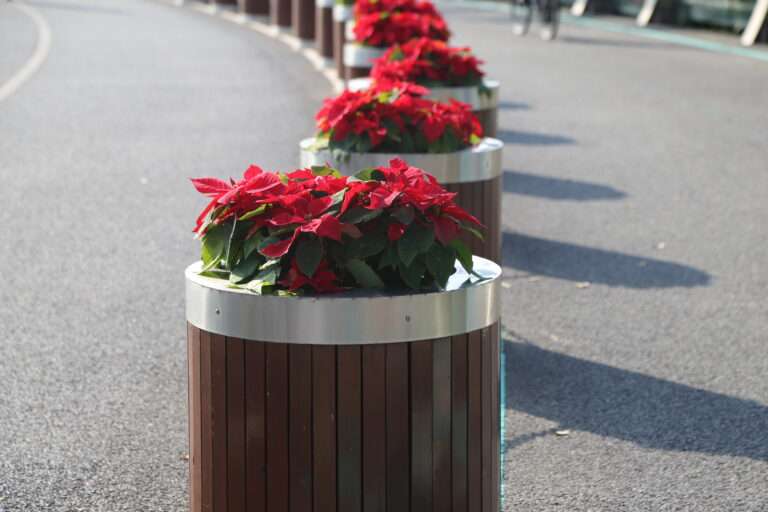
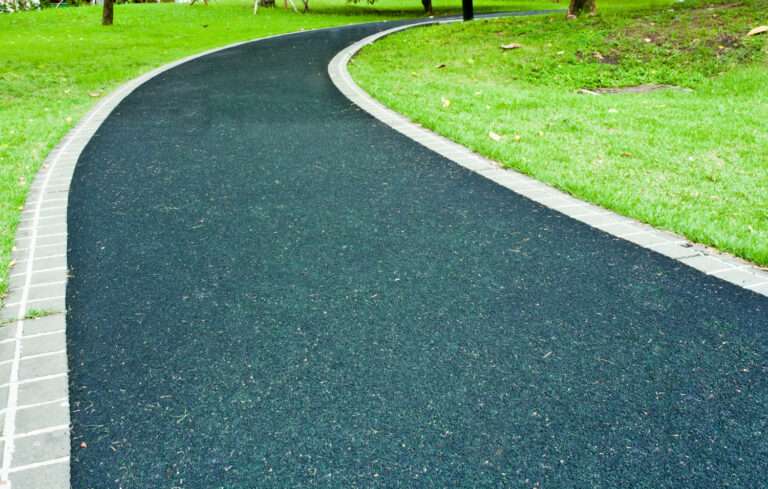
The aggregate choice is where the visual character of the surface comes from. Standard grey or buff limestone chippings give the most familiar appearance – a textured, pale surface quite distinct from the uniform black of tarmac. Coloured aggregates – red granite, golden flint, basalt – are available and can produce a more decorative result. On rural driveways particularly, a warm-toned aggregate can look genuinely dead good against a stone wall or a country house setting. I find it suits those environments considerably better than plain tarmac does, though that’s a subjective call.
How It Compares to Tarmac and Other Surfaces
The most common question is how tar and chip stacks up against tarmac. They’re related products – both bitumen-based, both used for road and driveway surfacing – but they behave differently and suit different contexts.
| Factor | Tar and Chip | Tarmac (Dense Bitumen Macadam) | Gravel |
|---|---|---|---|
| Cost per m² | Lower – typically £8 to £15 | Higher – typically £15 to £25+ | Lowest – typically £5 to £10 |
| Surface texture | Rough, natural aggregate appearance | Smooth, uniform black finish | Loose, informal |
| Skid resistance | Excellent – aggregate provides grip | Good, depends on surface dressing | Variable; loose surface can shift |
| Maintenance | Low – occasional re-dressing possible | Low – crack repair and recoating over time | Moderate – regular raking and top-up needed |
| Lifespan (well installed) | 10 to 20 years depending on use | 15 to 25 years depending on traffic | Indefinite with maintenance |
| Appearance over time | Weathers naturally; chippings may loosen initially | Can fade and crack; patching visible | Can spread and thin over time |
| Suitability for heavy traffic | Good for light to medium | Better for heavy or frequent traffic | Poor for regular vehicle use |
The cost difference is real and it’s one of the main reasons tar and chip gets considered. On a long rural driveway or an extensive access track, the saving per square metre adds up quickly. A 200-metre farm access track at five metres wide is a thousand square metres. At a saving of even £6 to £8 per square metre over tarmac, that’s a meaningful difference in the overall project cost.
The Base – Where Most Problems Actually Start
Here’s something that doesn’t get said enough in discussions about surface type: the surface is only as good as what’s underneath it. Tar and chip applied over a weak, poorly prepared, or inadequately drained base will fail prematurely regardless of how well the surface dressing itself is applied. The same is true of tarmac, gravel, or any other surface – but it’s worth stating clearly because people sometimes treat tar and chip as a cheap fix that can paper over base problems.
It can’t. A cracked, rutted, or poorly consolidated base will show through. Movement in the base causes the bitumen to crack and the aggregate to loosen. On soft ground – clay soils that move seasonally, areas prone to waterlogging, anywhere with significant frost heave risk – the base specification is critical.
For new installations on unprepared ground, a sub-base of compacted Type 1 MOT aggregate – typically 100mm to 150mm depending on the anticipated traffic – is standard. For resurfacing over an existing surface that’s in reasonable structural condition, a tack coat and new chip dressing can be applied directly. For existing surfaces with significant cracking, potholing, or structural failure, repairs need to happen before resurfacing rather than being covered over and hoped about.
The Installation Process in Practice
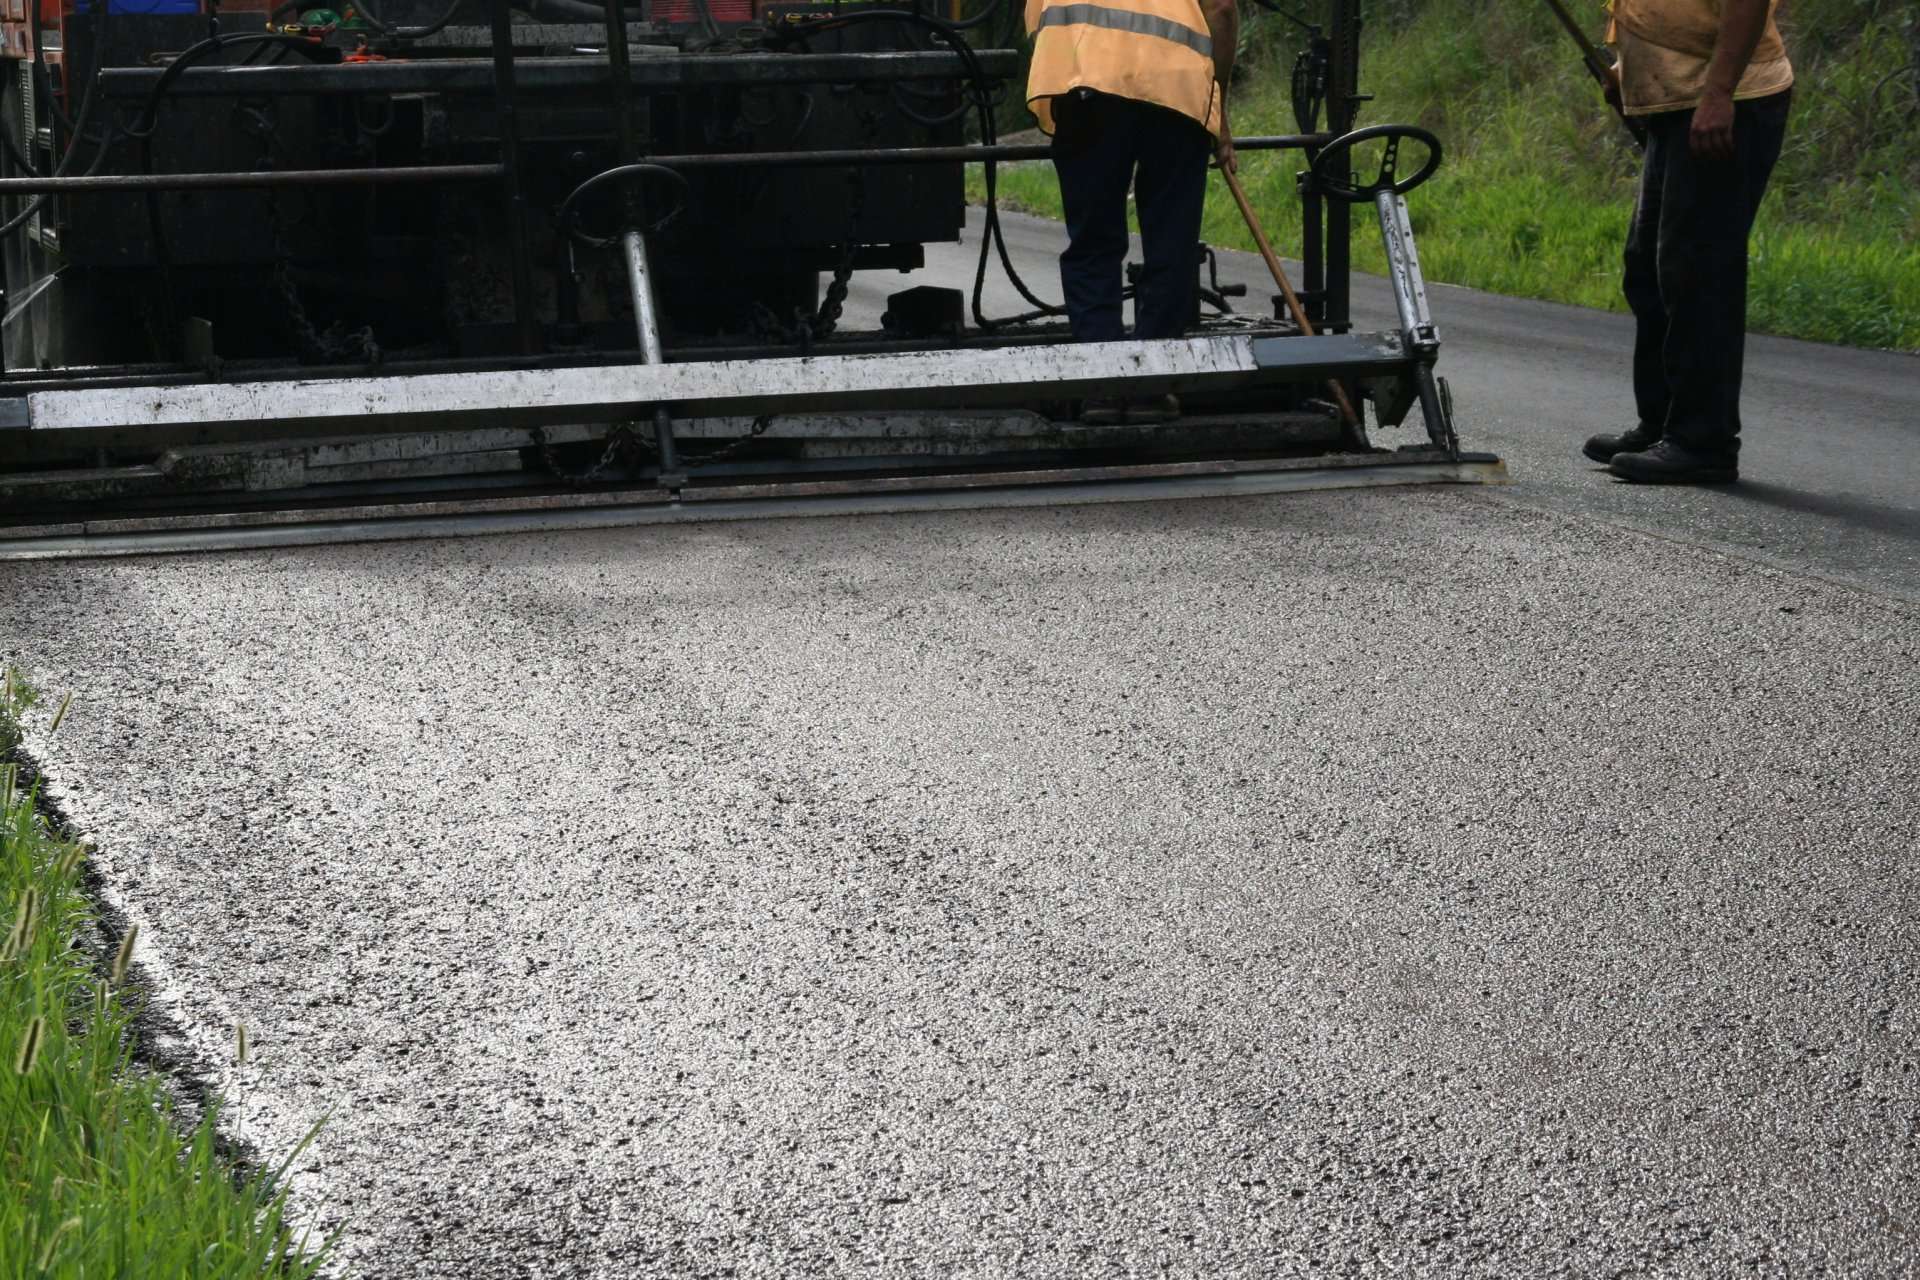
Tar and chip is a weather-dependent product. The bitumen binder needs to be applied and the chippings rolled in while the binder is hot – which means the process needs to happen quickly and in conditions where the binder won’t cool too rapidly before the aggregate is embedded. Cold, wet weather is the enemy of a good finish. In the UK, that basically means the installation season runs from late spring through to early autumn for best results, though mild, dry days in winter can work.
The sequence on the day of installation is: binder sprayer applies the bitumen at the correct temperature and spread rate, chippings are spread immediately behind (often from a chipping spreader or by hand on smaller areas), and a roller embeds the aggregate into the binder before it cools. The surface needs to be kept off vehicle traffic for at least 24 hours while the binder fully cures – longer in cool conditions. Immediately after installation, some loose chippings on the surface are normal. They settle and bind over the first few weeks of use.
That loose chipping period is the bit that surprises people if they haven’t been warned. For the first week or two, some aggregate will be displaced by tyres – particularly on the first few vehicle movements. This is normal. Sweeping up loose chippings after the first week is good practice. Complaining that the surface is “falling apart” two days after installation is – I was going to say an overreaction, but it’s more that it’s a reasonable response to something nobody explained was expected.
Our tar and chip surfacing solutions include proper pre-installation assessment of the base condition, the right binder and aggregate specification for the use and location, and a clear explanation of what to expect in the weeks after installation – because informed clients have a much better experience of the finished surface than those who weren’t told about the initial loose chipping phase.
Aggregate Choice and Appearance
Beyond the practical performance questions, aggregate choice is worth thinking about from the outset because it determines what the surface looks like for the next decade or more. The aggregate is what you see – the bitumen is largely invisible once the surface cools.
Standard grey limestone is the most common choice and the most economical. It gives a clean, neutral appearance that works well in most settings. Buff or golden limestone reads warmer and suits period properties or settings where a softer tone is preferred. Red granite gives a distinctive, reddish surface that can look brilliant on rural driveways – genuinely striking against green surroundings. Basalt is darker, closer to tarmac in overall tone but with the texture of a chip surface.
Aggregate size also matters. 6mm chippings give a finer, tighter surface texture. 10mm and 14mm give a coarser, more pronounced texture with slightly better drainage characteristics. For residential driveways, 6mm or 10mm tends to be preferred – coarser aggregate can be uncomfortable underfoot and harder on bicycle tyres. For access roads and estate tracks, 10mm or 14mm is more typical.
Frequently Asked Questions
Is tar and chip suitable for a domestic driveway?
Yes, and it’s a popular choice for rural and semi-rural domestic driveways. It’s cost-effective, durable under normal domestic vehicle use, and looks considerably more natural than tarmac in a countryside or period property setting. It’s not the best choice for driveways with very tight turns – the shear stress from turning at low speed can displace surface chippings over time – or for driveways with heavy, sustained vehicle movements from commercial vehicles.
Does tar and chip need planning permission?
For domestic driveways in England, surfacing that allows rainwater to drain through or run off to a lawn or border doesn’t require planning permission under permitted development rules. Tar and chip is not permeable in the same way as loose gravel, so on front gardens over 5 square metres, permitted development rules technically require permeable surfacing or drainage provision unless planning permission is obtained. In practice, this rule applies to the same degree as it does for tarmac. Worth checking with your local planning authority if you’re in any doubt, particularly in a conservation area.
Can tar and chip be applied over existing tarmac?
Yes, if the existing tarmac is in reasonable structural condition – no significant cracking, rutting, or areas of failed base. The existing surface is cleaned, any loose material removed, repairs made to cracks and potholes, and a tack coat of bitumen applied before the chip dressing. This is considerably cheaper than a full remove-and-replace and works well where the base is sound but the surface has lost its wearing course texture and grip.
How soon can the surface be used after installation?
Light foot traffic after a few hours once the binder has cooled. Vehicle traffic after 24 hours minimum, longer in cool weather. Avoid sharp turning movements for the first week or two while the binder fully cures and the chippings settle. No heavy vehicles for at least 48 to 72 hours. The first few vehicle passes will displace some surface chippings – this is expected and not a sign of failure.
A Straightforward Surface, Done Properly
Tar and chip is not a complicated product. It’s been around long enough that the best practice for installation is well established, the performance characteristics are well understood, and the contexts where it works well are fairly clear. It’s not the right surface for every application – heavy commercial traffic, urban settings where a smooth black finish is expected, or locations where the initial loose chipping period would be problematic.
But for rural driveways, estate access roads, farm tracks, car parks on country estates, and a range of other applications where a cost-effective, durable, naturally textured surface is what’s needed – it’s genuinely hard to beat. The key is doing it properly: right base, right binder, right aggregate, right weather, and a clear explanation to whoever’s using the surface of what to expect in the weeks after it goes down.
Sorted.
Killingley Insights is the editorial voice of NT Killingley Ltd, drawing on decades of experience in landscaping, environmental enhancements, and civil engineering projects across the UK.