Refurbishing Old Reed Beds: Restoring Efficiency and Ecological Balance
Funny how reed beds age. You’d think a wetland system packed with reeds and microbes would just keep chugging along forever, like an old allotment shed that somehow survives every winter storm. Then you visit one that’s been left alone too long, maybe on a grey morning near Chesterfield or somewhere tucked behind a farm in Lincolnshire, and you realise it’s quietly given up. Flows going the wrong way, reeds dying back in patches, sludge piling up like forgotten compost. Happens more often than people admit.
But the encouraging bit? They can be revived. Properly revived. Seen it myself on sites where everyone had written the system off. A bit of inspection, a bit of desludging, some tender care with planting, and a few tweaks to pipework. Suddenly it’s behaving like a system half its age. Reminds me of those TV renovation shows where a knackered cottage becomes a place everyone wants to move into, except without the dramatic lighting and piano music.
Anyway, before I get carried away, if you want context on where refurbishment fits into the wider service, have a look at how we provide reed bed installation and refurbishment on long-term earthworks schemes. It’s all part of the same family of work.
Why Reed Beds Decline Over Time (It’s Not Always Neglect)
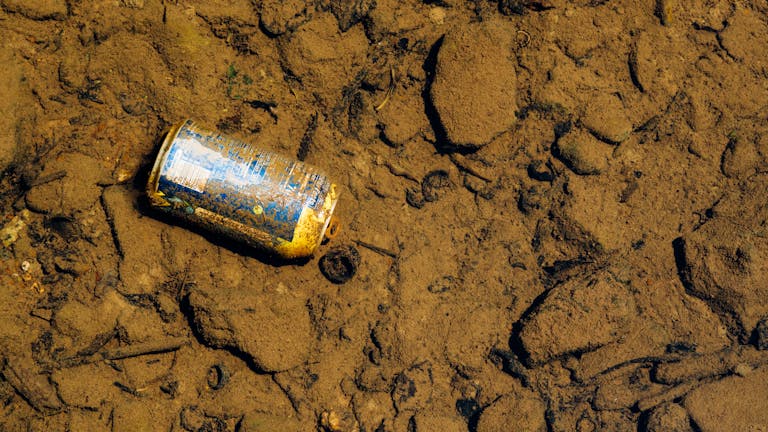
Some reed beds fail because nobody looks after them. Others struggle even when they’re checked. Climate swings don’t help. Increasingly intense downpours can shove more solids into systems than they were ever meant to handle. Dry spells can knock oxygen transfer off balance. Industrial sites often push their luck with contaminants.
Oddly enough, many older reed beds were designed with optimism that just doesn’t match real-world conditions. Over 15 or 20 years, the gap between design assumptions and working reality becomes a chasm. Flows change, catchment areas expand, upstream infrastructure shifts.
Then there’s the simple issue of plant health. Reeds age out, clog, break down. Sludge builds. Aeration patterns shift. Once that starts, performance drops off a cliff. Or not a cliff exactly, more like a slow slide where you only notice when somebody checks a discharge reading and goes, hang on a minute…
First Step: Inspection (Not Just a Quick Look)
Inspection sounds like an easy job. Walk around, nod wisely, poke a stick into the media. If only.
Proper inspection falls more into detective work. Wherever you go in the UK, from little eco-lodges in Somerset to industrial edges of Sheffield, the clues are similar.
Sometimes you spot immediate issues: standing water at the inlet end, cracked distribution pipes, reeds dying in tell-tale patterns. But the subtle stuff matters too. Patches where flow short-circuits beneath the root zone. Inlet chambers blocked at awkward angles. Outlets set too high because someone has fiddled with the weir levels.
I was going to list everything you need to look for — then thought better of it, because nobody needs a tidy list here. A reed bed inspection is half technical, half intuition. You get a feel for beds that have been cared for versus those that have quietly suffered.
What Usually Goes Wrong (A Few Patterns That Keep Reappearing)
It varies, obviously, but I keep seeing a handful of issues pop up again and again.
Water distribution failing. Instead of spreading, flows jet straight through one channel. Like a river cheating through a wetland.
Sludge accumulation. Ten years of organic build-up is fine. Twenty years without desludging becomes a thick anaerobic layer that kills efficiency.
Reed collapse. Sometimes from old age, sometimes from geese, sometimes because winter storms flattened the stand and nobody tidied up.
Liner exposure. Once the liner is visible above the media or exposed at the edges, it’s a sign something’s subsided or washed out.
Root penetration into key pipework. Rare but not rare enough.
None of these faults are fatal. They’re just signs the reed bed is asking for help.
Desludging: Messy But Necessary
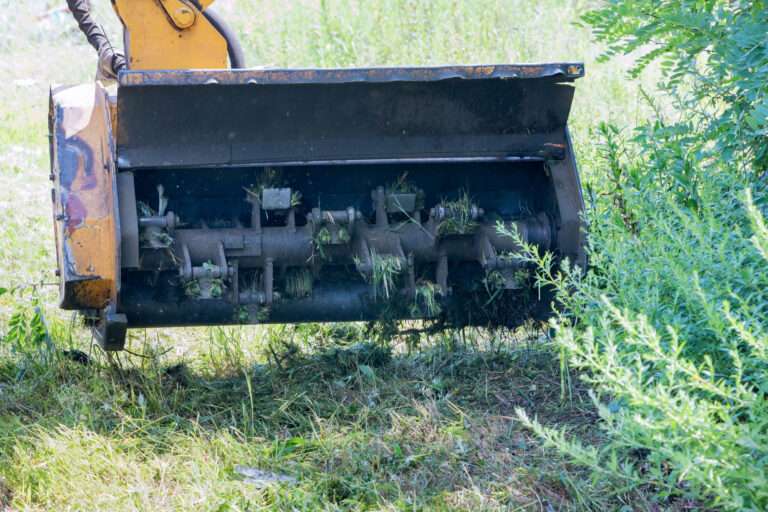
Desludging isn’t glamorous. It’s a muddy, heavy, sometimes smelly job. You’re moving material that’s been decomposing quietly for years. But the difference it makes is huge.
Sludge isn’t just waste; it blocks hydraulic pathways. Once flow slows, anaerobic pockets form. Treatment plummets.
The goal isn’t to strip the bed back to nothing — you don’t want to throw away all the beneficial biofilm. It’s more like pruning an overgrown hedge. Take enough to restore shape and function, not enough to stress it out.
Farm sites often need bigger clearance works because of the solids they receive. Holiday parks usually have lighter sludge but more plant decay. Every site tells its own story.
Funny thing is, desludging often feels like starting a neglected garden project. You clear everything back and suddenly the structure you’d forgotten was there reappears.
Replanting: Bringing the Bed Back to Life
You’d think reeds, given half a chance, would bounce back on their own. Sometimes they do. But older reed beds often need deliberate replanting to kickstart uniform growth.
Choosing the right planting density matters. Go too sparse and you wait years for the stand to fill. Go too dense and wind flattening becomes a problem. A standard approach works for most systems, but exposed locations need sturdier initial stands.
New plants also help oxygenate the bed again. Young root systems push oxygen deeper into the gravel, putting bacteria back to work. If a reed bed smells “off” — that slightly sour, anaerobic smell — fresh planting often turns it around.
Replanting can look chaotic, especially early spring when everything seems brown and half-dead. Give it a few months and you get that reassuring summer green that tells you the bed is back on its feet.
Flow Optimisation: Where The Real Gains Happen
Flow tweaks are where most refurbished reed beds gain their efficiency back. If water doesn’t move correctly, the rest doesn’t matter.
Adjusting inlet distribution is usually the main job. Blocked, cracked or poorly graded pipework sends flows rushing or trickling rather than spreading. Refurbishment almost always means installing new perforated pipes or rebalancing the layout.
Outlet controls matter too. Set the wrong water level and the bed behaves like an entirely different system. Too high and it floods, too low and plants dry out. Some of the oldest systems use simple weirs that have been adjusted so many times nobody remembers the original setting.
I’ve seen systems dramatically improve performance based solely on getting the outlet level right. No flashy works, just a screwdriver, a bit of patience, and checking levels properly.
A Quick Table (Main Causes of Decline vs Solutions)
Just a simple one you can copy straight into WordPress.
| Common Issue | What It Means | Refurbishment Approach |
|---|---|---|
| Sludge build-up | Blocked routes, loss of oxygenation | Controlled desludging |
| Patchy or dead reeds | Poor aeration, old planting | Replanting, density correction |
| Short-circuiting | Water bypassing the treatment zone | Inlet/outlet redesign |
| Media compaction | Reduced hydraulic conductivity | Media replacement or loosening |
| Liner exposure | Erosion or subsidence | Edge repair and re-grading |
| Standing water | Incorrect outlet levels | Adjust weir levels |
Not the most artistic table, but practical.
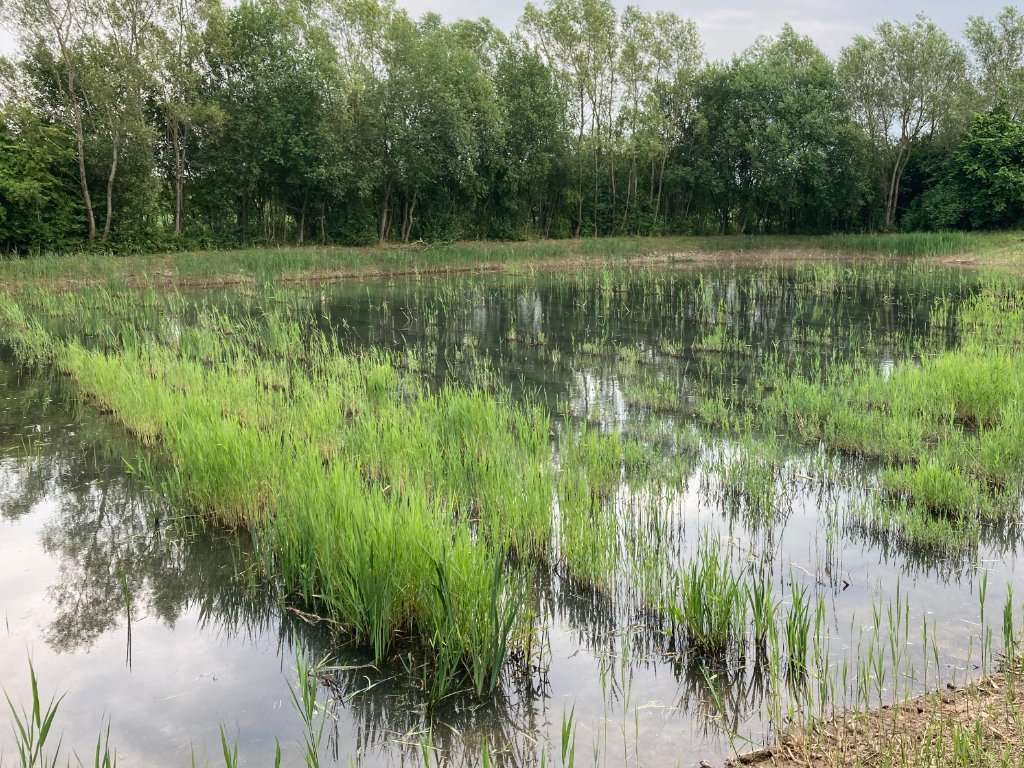
Ecology: Getting the Balance Right Again
Reed beds aren’t just treatment systems. They’re habitats. As systems age badly, biodiversity drops. Birds avoid patchy stands. Amphibians settle in the wrong areas. Insects decline. When you refurbish properly, wildlife returns surprisingly quickly.
A thriving reed bed hums — not literally (well, maybe with dragonflies in summer) — but with life. Once the root zone is oxygenated, the whole ecosystem rebalances. Fewer anaerobic patches mean fewer foul smells, better water quality, stronger reeds.
I’ve walked refurbished beds six months after works and spotted water beetles, wrens darting between stems, even frogs tucked in the wetter corners. Small signs, but telling.
Case-Style Observations (Without Naming Sites)
One site near Derby had a reed bed that had completely silted up after fifteen years. Locals assumed it was useless. After refurbishment — desludging, replanting, correcting the flow, the works — it started meeting discharge standards within eight weeks. Recovery was so quick even the operators were surprised.
Up north, a farm-based system kept clogging every winter. Turned out the inlet pipes had been laid at the wrong angle originally. Once fixed, the whole bed came back to life. Simple error, long-term consequences.
Holiday park systems usually fail because of seasonality. High summer loads, near-zero winter flows. Systems like that need flexible outlets and more robust planting. Once added, performance stabilises.
FAQs About Reed Bed Refurbishment
How do I know if a reed bed needs refurbishment?
Symptoms show. Standing water, patchy reed growth, smells, slow flow. Sometimes it’s subtle: falling treatment performance with no obvious cause.
Can you refurbish beds in winter?
Yes, to a degree. Desludging and pipework are fine. Replanting works best in spring.
Does refurbishment mean starting again?
Usually not. Most reed beds retain key structures. Refurbishment keeps what works and repairs what doesn’t.
How long does refurbishment take?
Anything from a couple of days for small systems to several weeks for older or larger beds. Depends on access, condition, and weather. Rain never helps.
Do refurbished beds perform as well as new ones?
Often better. Older systems benefit from mature microbial communities once structure is restored.
Sustainability Benefits Of Reviving Older Beds
Refurbishment avoids the waste and cost of full replacement. Liners last decades with care. Media can be reused or partially replaced. Planting regenerates itself.
Also, a refurbished reed bed maintains its role in local biodiversity. You don’t lose habitat. You improve it.
Energy usage stays at near zero. Maintenance remains low. And you avoid the embodied carbon of ripping everything out and starting again.
People often underestimate how powerful “repair, not replace” can be. Reed beds are one of those systems where refurbishment really is the sensible route.
A Few Odd Tangents Before Wrapping Up
Standing next to an ageing reed bed in winter feels a bit like standing beside a garden that’s lost its shape. Everything brown, slumped, tired. Then you come back in August and it’s a jungle. Plants have attitudes like that. And it reminds you that refurbishment isn’t about forcing a system to behave. It’s about giving it the conditions to thrive again.
Also, a thing worth mentioning: some operators assume the bed has failed because the reeds look scruffy in March. They’re perennials. They always look rough then. It’s not a sign of failure. It’s just winter doing what winter does. You’d think after enough seasons everyone would know this… but no.
Conclusion: Old Reed Beds Aren’t Write-Offs
Refurbishment is often quicker, cheaper and more effective than building new systems. With proper inspection, desludging, planting and flow correction, even the oldest reed beds can return to strong, reliable performance. It’s satisfying work too, watching a tired system regain its rhythm.
And once everything’s back in balance, the efficiency improves, the ecology flourishes, and the system looks the part again. Spot on.
Killingley Insights is the editorial voice of NT Killingley Ltd, drawing on decades of experience in landscaping, environmental enhancements, and civil engineering projects across the UK.